

This is the official blog post for our project for HackNU 3.0. This project was completely built and realized from concept to prototype over the course of 11 days.
Table of contents
- Motivation
- Gaps in existing solutions
- Our Approach
- Pose Estimation
- 3d mapping
- motion transfer
- Technologies
- Challenges
- Learnings
- Conclusion
Motivation
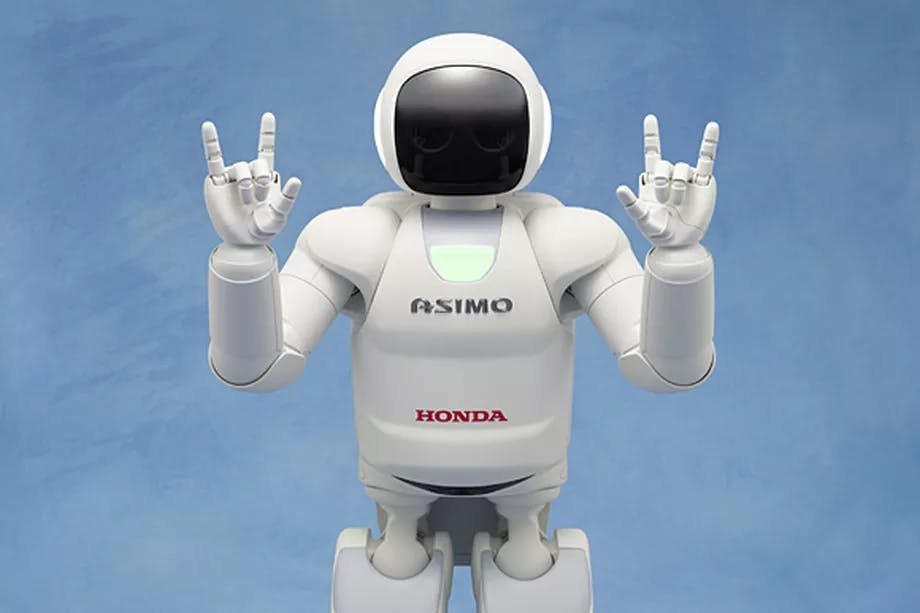
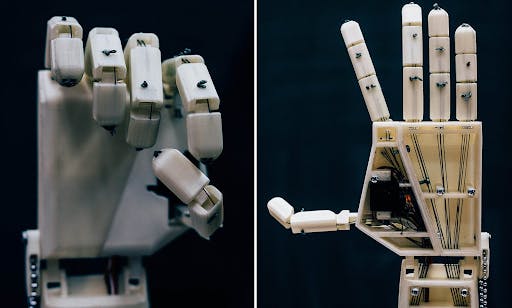
The problem we wanted to tackle was that of making humanoid robots more accessible and increasing their interactivity. We emphasize humanoid here, because other kinds of robots may prioritize other features more than interactivity. Humanoid robots are designed to be around and mimic humans as much as possible. Therefore, a key feature in any cutting edge robot of this kind is its ability to communicate.
 As a result of years of research done in computer vision(pathfinding, scene perception) and Natural Language Processing(conversational AI, image captioning) for robotics, these modern robots can interact with humans really well. However, there is still a long way to go for reaching complete interactivity. There is a lot of research currently being done on making robots more interactive to all humans regardless of language or ability and one such area is the ability to communicate via sign language.
We aim to provide an API/framework that once given the motion of the sign (through a video or manual animation), will program the sign using estimated motion transfer and add it to its vocabulary of signs.
Gaps in current solutions
Although a few robots have been designed to transmit sign language, it is a very cumbersome task since the robot movements have to be specifically programmed for each individual element in a sign language vocabulary.
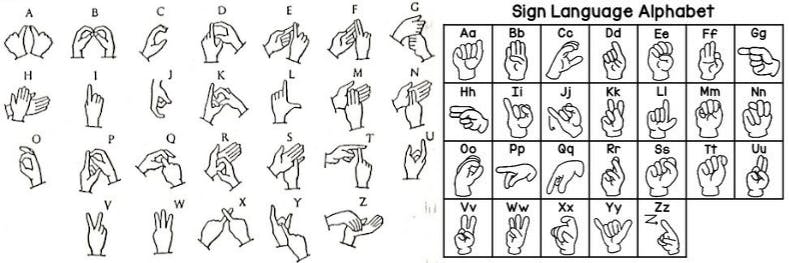
Another huge motivation for this project was the lack of universal frameworks for sign languages. There exists around 150 sign languages across the world, but most of the frameworks designed for this task are based on American Sign Language, due to its exposure and popularity.
Our Approach
We structured the prototype as follows:
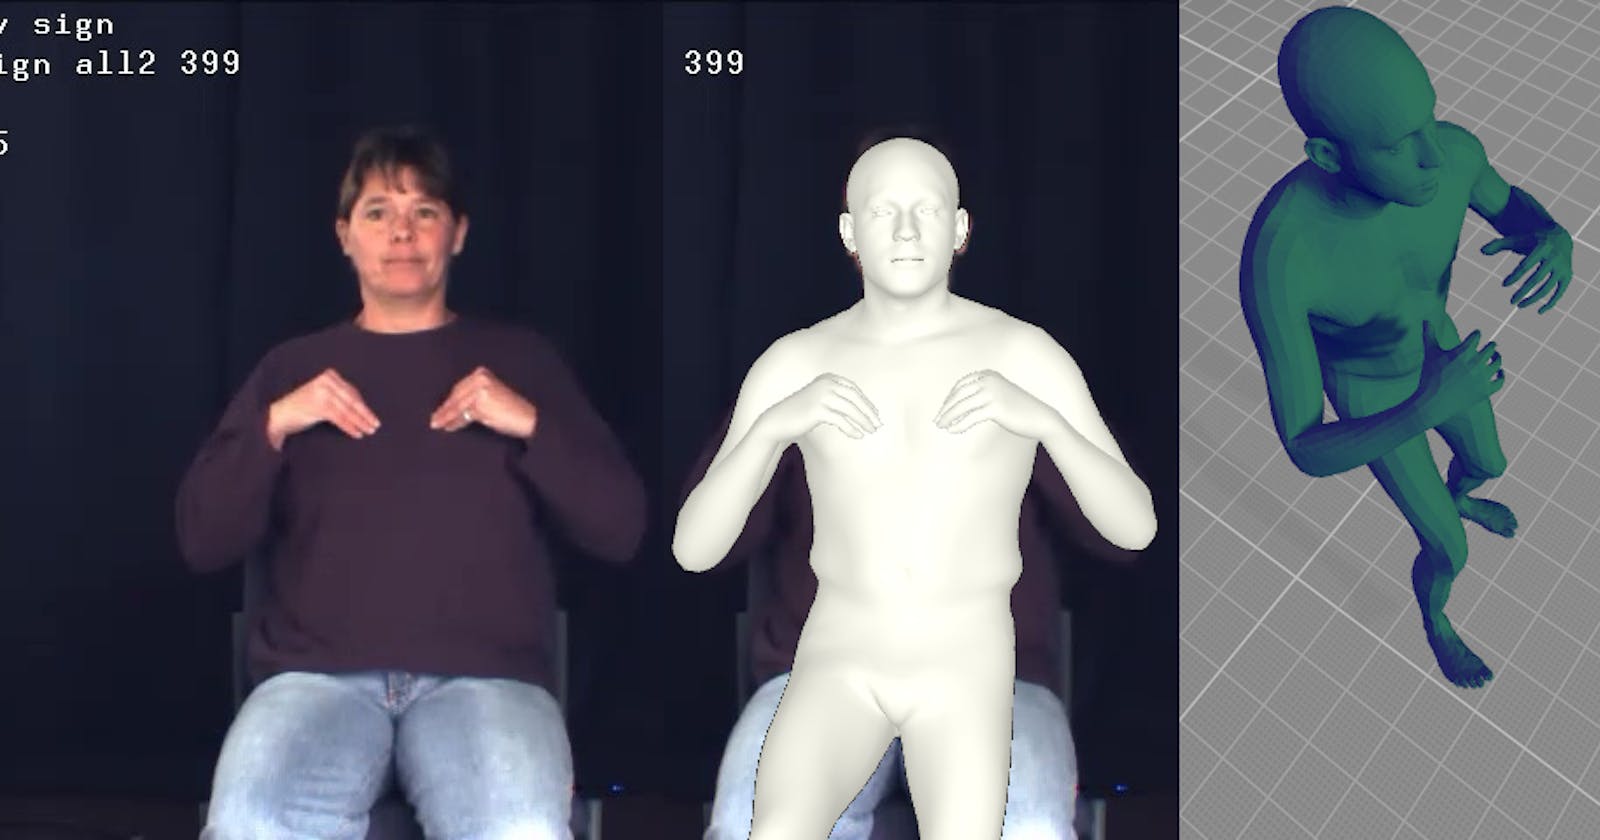
- Pose-estimation: Given the video input, we estimate body key points to construct a pose. For this we use openpose . Openpose is an open source neural network model for pose estimation. We use openpose because it is currently the most efficient pose estimating module, and has opensource model weights. We are mostly concerned with the hand keypoints and facial landmarks, since these contain the highest information pertaining to a sign. We store these keypoints in a JSON format.
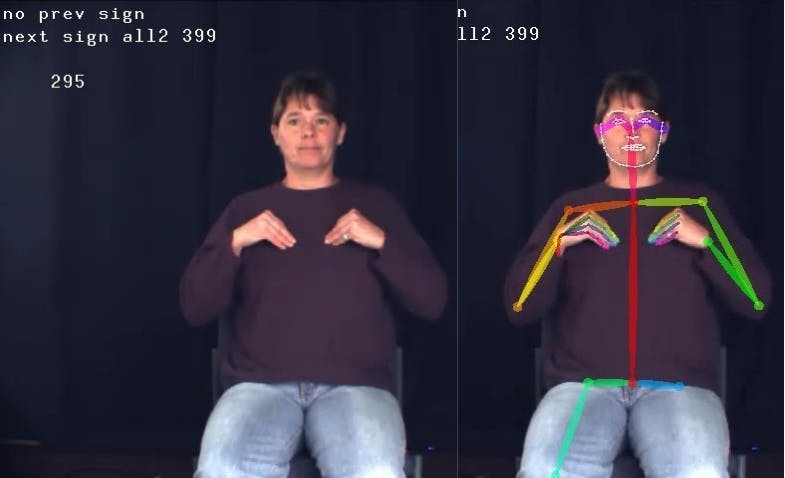
- 3d-mapping: After getting the 2d pose coordinates, we morph a 3d humanoid mesh to fit the pose on each frame. For this we use smplx .
SMPL-X is a skinned, vertex-based and differentiable 3d mesh with 10,475 vertices and 54 joints. The fitting algorithm does pose regression by minimizing the mean squared (L2) loss between the 2d coordinates and the mesh coordinates.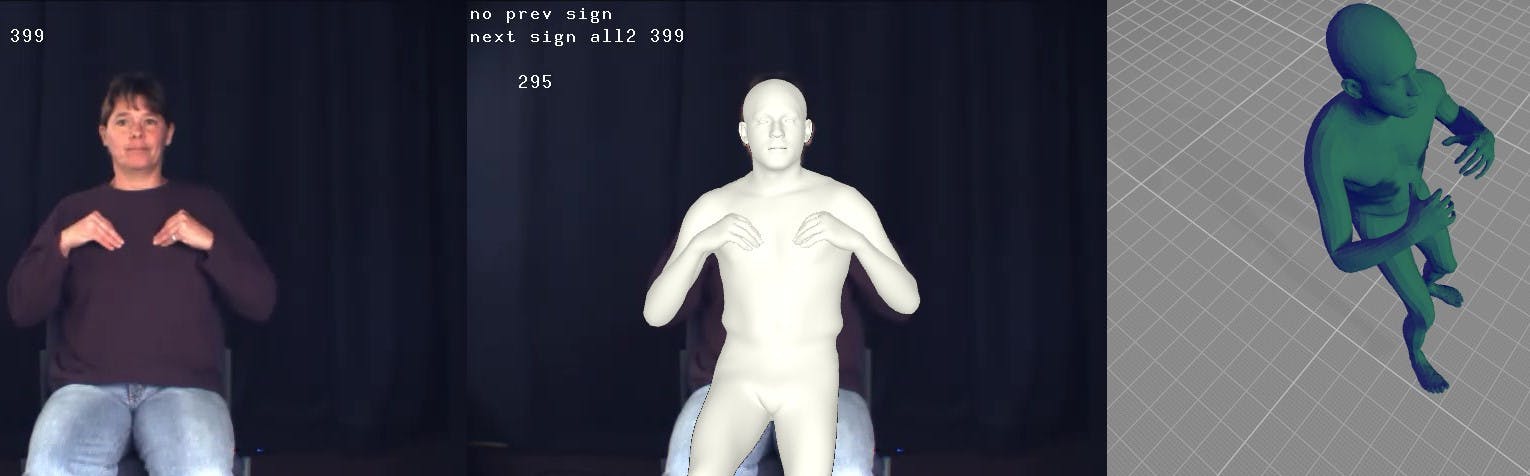
- motion-transfer: After getting meshes for each individual frame in the video, we import them into blender and interpolate between them to mimic motion. For this component to work optimally we require very high quality(lossless) videos and more iterations of the fitting algorithm to minimize the shape loss. We will go over this in the challenges section.
| Rendered | Actual |
 |  |
Technologies
Our language of choice was Python due to the vast number of useful libraries, apt for the development of our project. The major libraries and technologies used for the project are as follows:
- PyTorch: A deep learning library used for the pose regression module.
- PyTorch-3d: A companion library for PyTorch that contains functions for 3d deep learning. This is used for 3d mesh fitting.
- PyOpenGL: Used for rendering 3d models.
- OpenCV: A computer vision library used to process the videos and frames.
- ArgParse: An inbuilt library that we used to create the Command Line Interface for the prototype.
- Blender: Blender is a 3d modelling, animation and simulation software that we used for motion transfer by interpolating between the meshes created at each frame of the video.
- OpenPose: A trained neural network model used for the extraction of pose keypoints.
- SMPL: SMPL is an opensource skinned 3d differentiable mesh that is extensively used for 3d deep learning research.
Challenges
Building a project like this is very tricky since it is very decentralized and uses multiple libraries simultaneously. Some of the challenges we faced are:
- Incompatible Dependencies: A lot of the niche modules built using python aren't constantly maintained, so when used with regularly updated, enterprise code, the builds are not compatible. In this project, a library named OpenDR was required for 3d inference, however a lot of the code in it was deprecated, which required us to transform certain snippets deprecated code to current python standards.
- Compute requirements: For a perfect 3d imitation of a video, we would be required to generate a mesh for every single frame in the video and interpolate between them. Fitting a frame on a single video requires around 3 mins on a mid tier GPU, meaning it would be infeasible for us to do it on every single frame. So we only selected enough frames for the animation to look decent after interpolation.
- Insufficient Documentation: We tried to automate the process of interpolating between meshes in blender, but couldn't due to the insufficient documentation of the blender scripting module.
Learnings
We learnt a lot of new concepts and a few very interesting and subtle tricks while building this prototype and tackling the challenges that came along the way.
- 3d mesh regression: While we knew about pose regression (minimizing the keypoint coordinate loss from ground-truth data) , we had no idea how this would generalize to 3d meshes. This concept was used to fit the 3d mesh to the pose keypoints.
- Blender: We learnt how to use blender for simulation and mesh interpolation.
- Command Line Interface creation: We learnt how to make a cli using argparse.
Conclusion
Over the course of 11 days we made a working command line tool that takes in a video of a person speaking in sign language and transfer the motion to a 3d mesh. This 3d mesh along with the pose coordinates can then be used by robotics developers to infer and program motion into their robots without having to manually sit down and program the sequence of motions. Moreover, this tool can work with any kind of video, so as long as there is video data of the sign language, the tool can work with it. With more time, the framework can be made more user-friendly by integrating a GUI. Overall, this hackathon was a great learning experience and I am glad we participated in it.